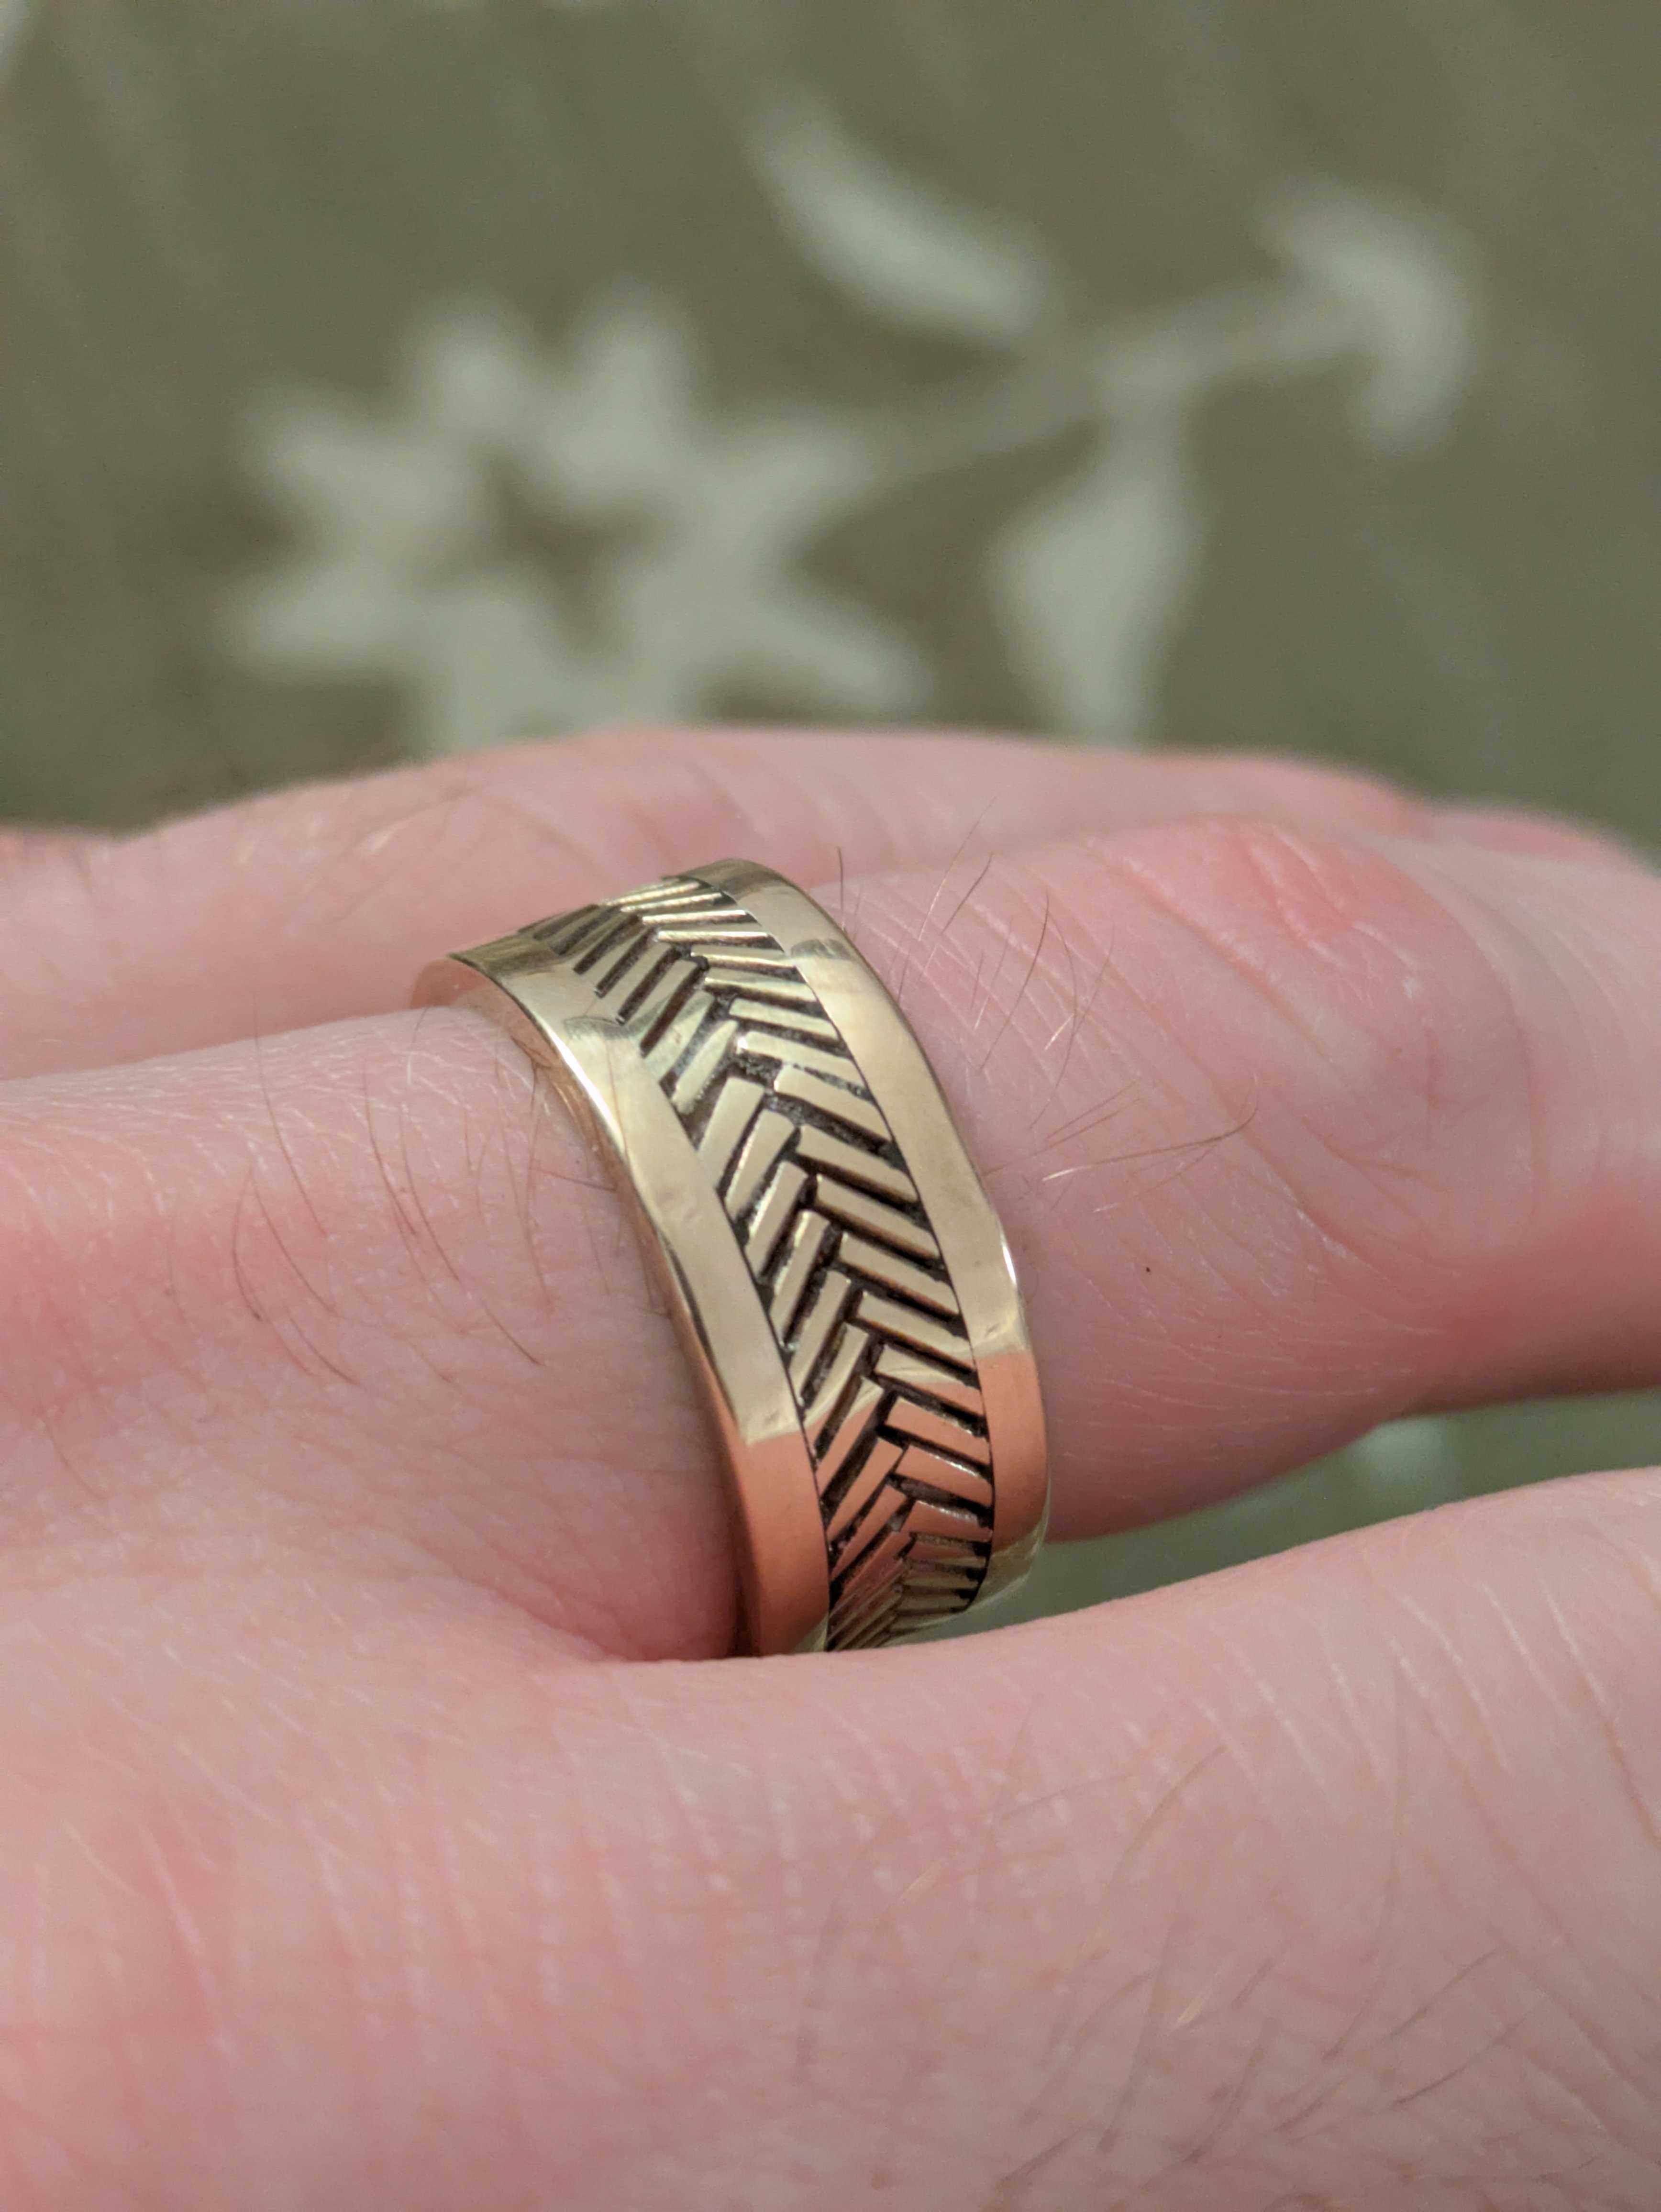
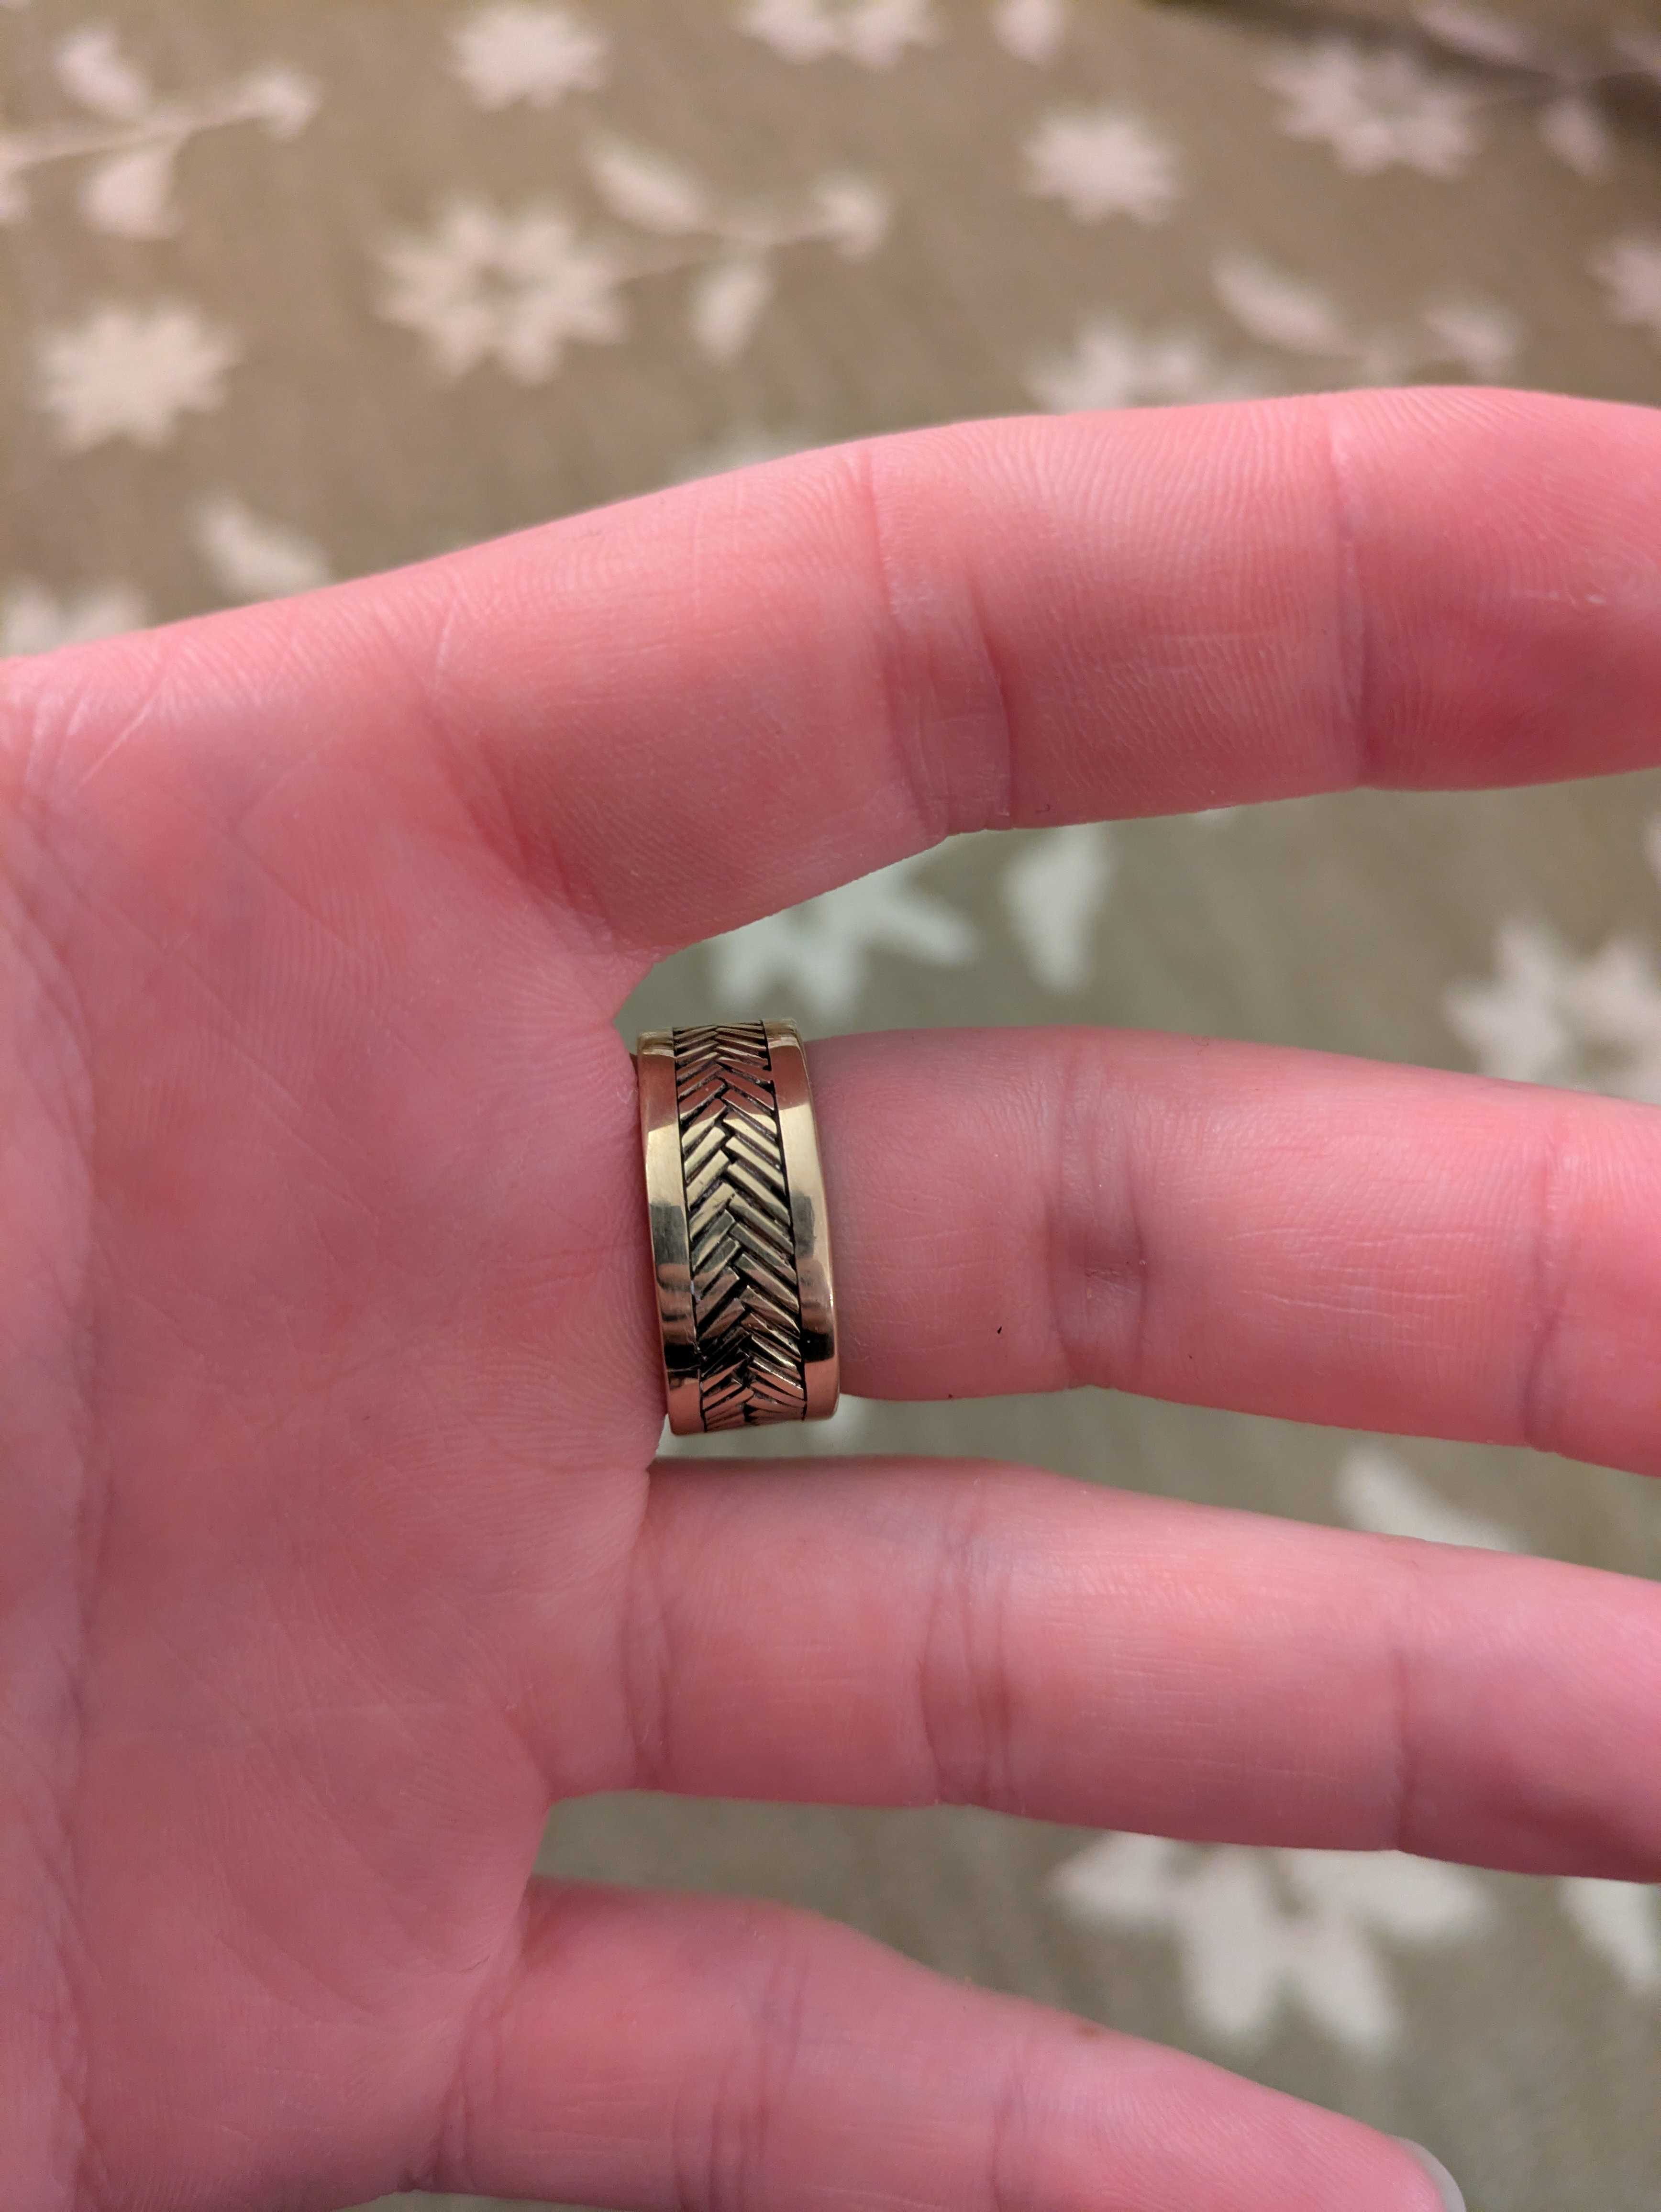
herringbone ring
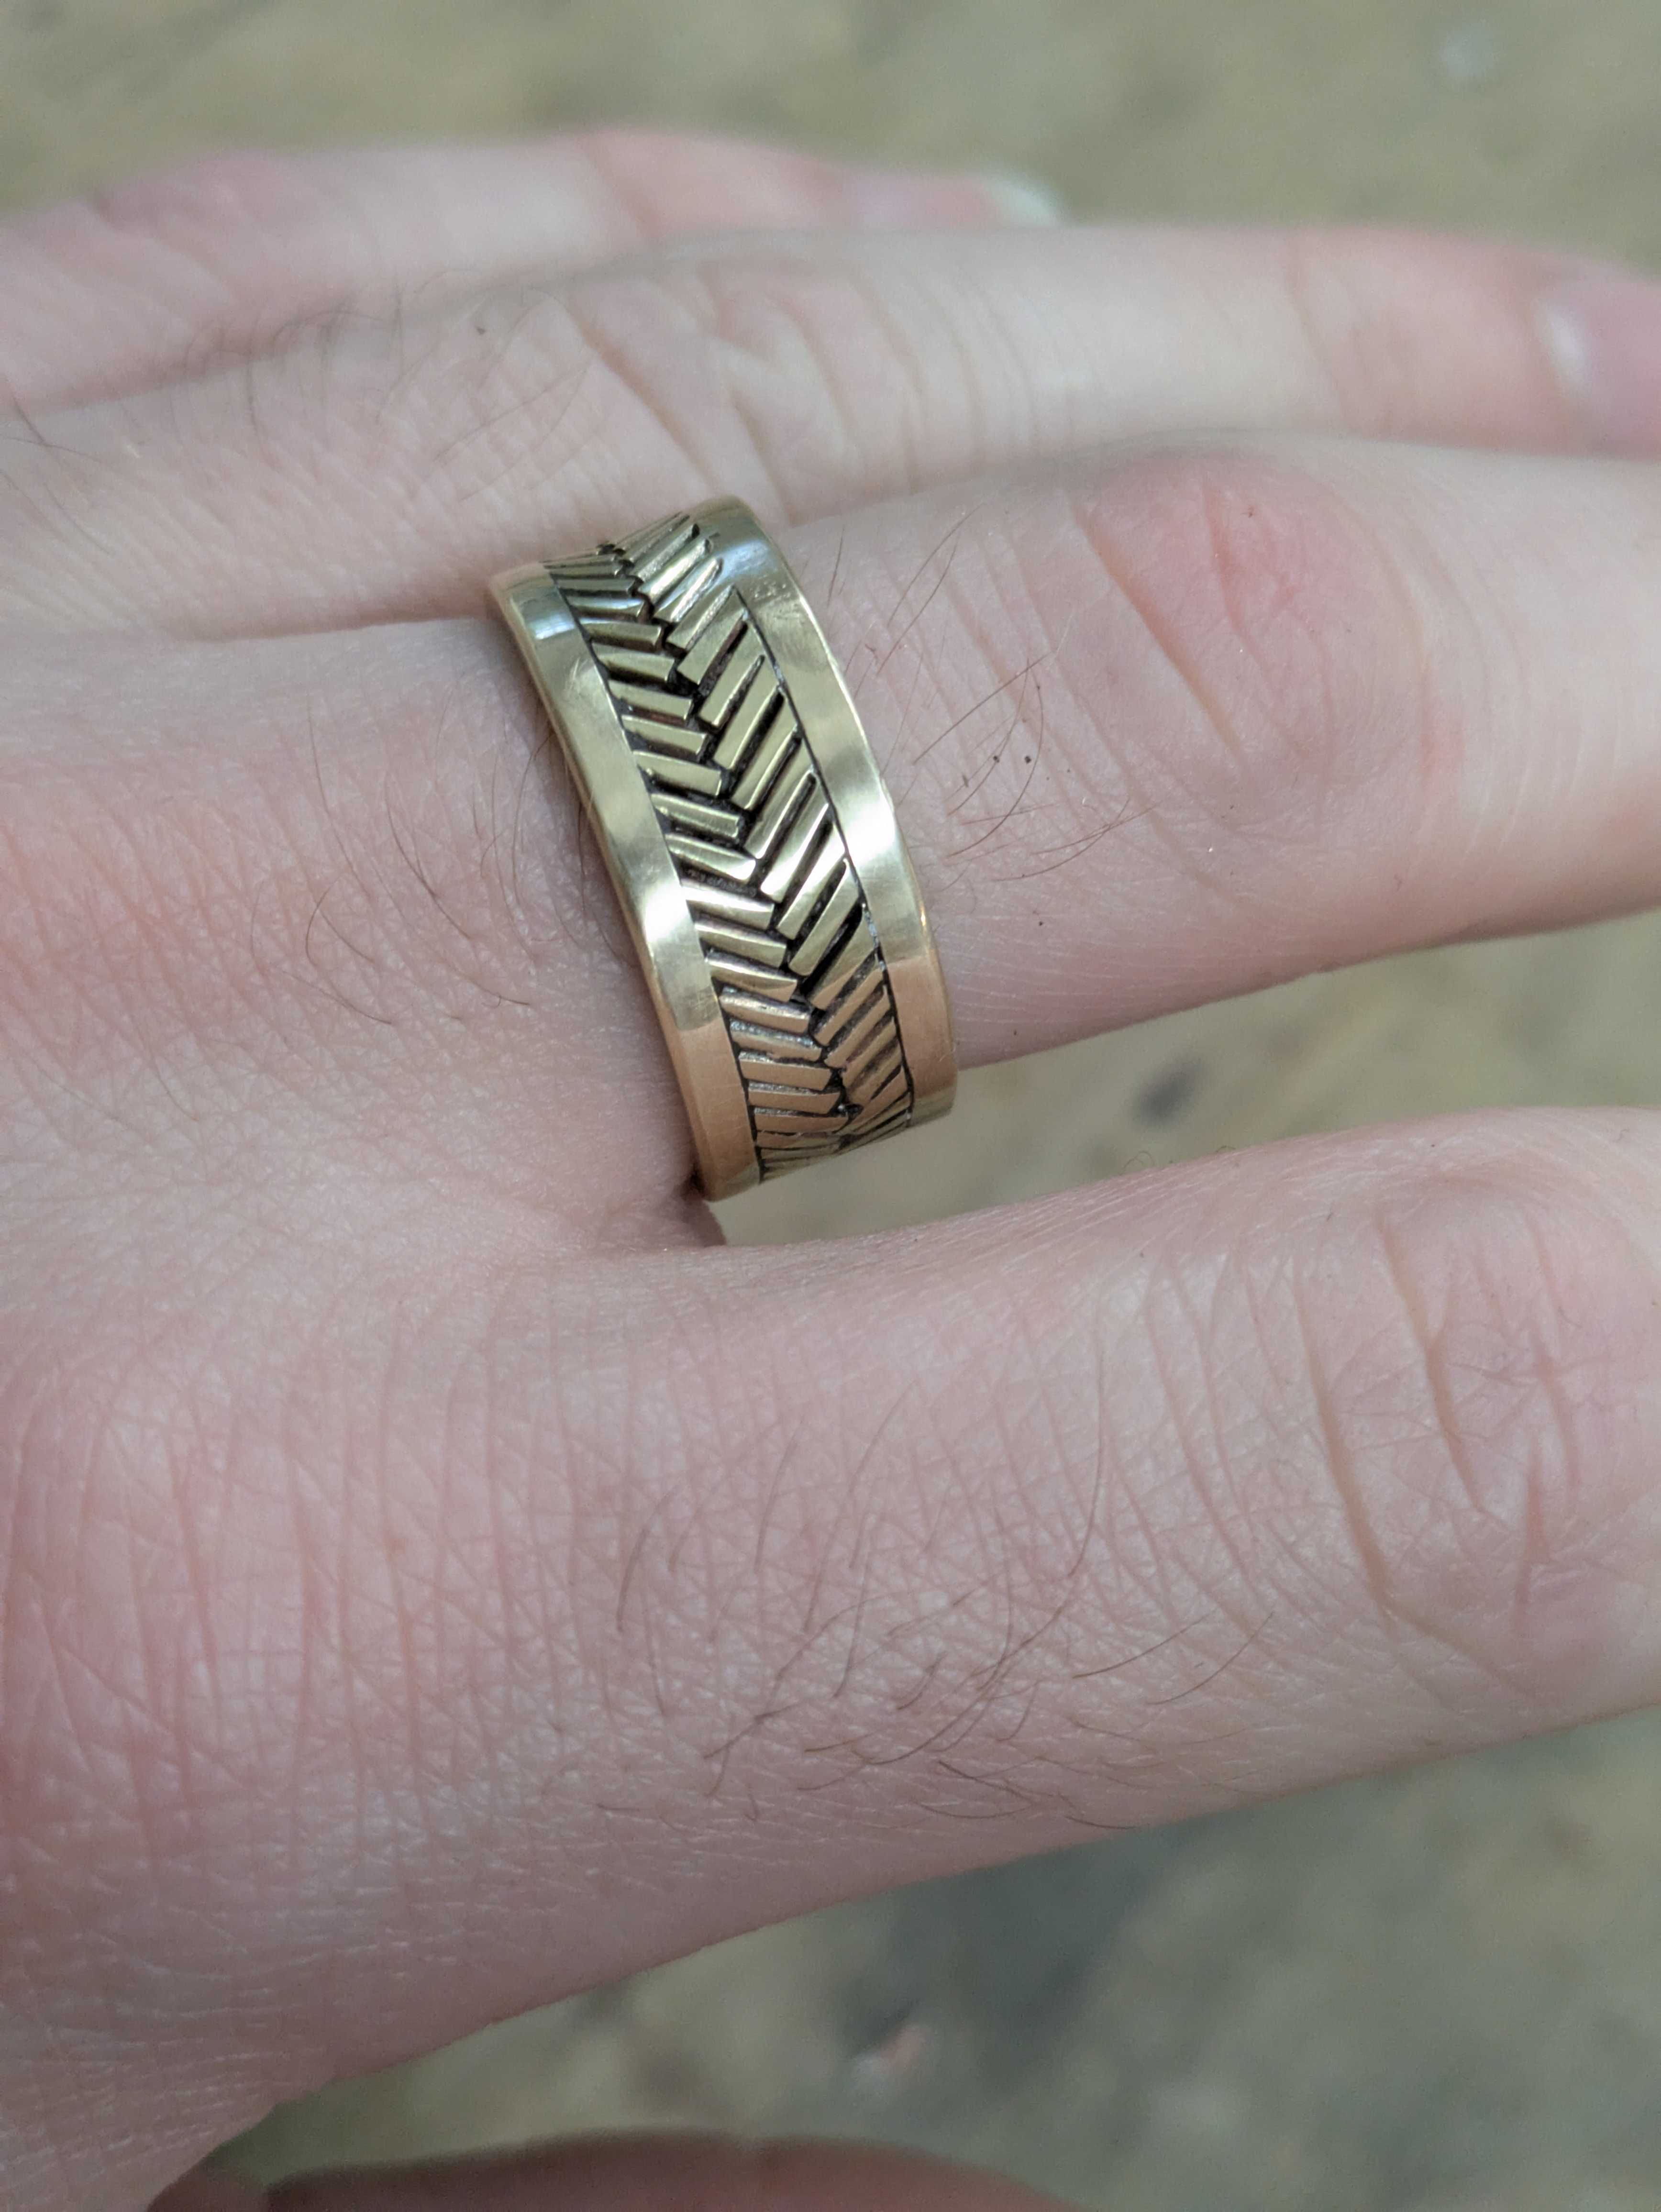
i made this as the final project of my first jewelry-making class! i am very happy with how it turned out, and very thankful that i am in a position where i can do stuff like this.
the process
i actually had the idea for this right after signing up for the class, so i was pretty much ready to go with it when our instructor told us to pick a 'final project'. my initial idea was to have all of the wires that form the pattern be soldered and bent without a backing, but she told me that probably wouldn't work - the hammering and bending was likely to cause issues.
instead, she recommended that i sweat solder it. i had not done that before but it is a simple process:
- put solder on a flat backing piece and melt it on
- place smaller pieces on top after the flat part is pickled
- re-flux it all, melt the solder again with the flat pieces on top
at home the next week, i took care of cutting about ~120 short pieces of wire (only ended up using ~90) and filing one end of them flat.
so the steps are not complex, but it was tricky to get the pieces lined up right. i used the end of a (fire brick? don't remember what this is called - the tile that you place stuff on when soldering) to get a 90 degree angle for the first pieces.
then i did about 10 wire pieces at a time. i had a few mistakes that i needed to adjust, including an over-heating near the end that fused the wire to the backing plate that i had to grind off, but it turned out ok, if a bit uneven.
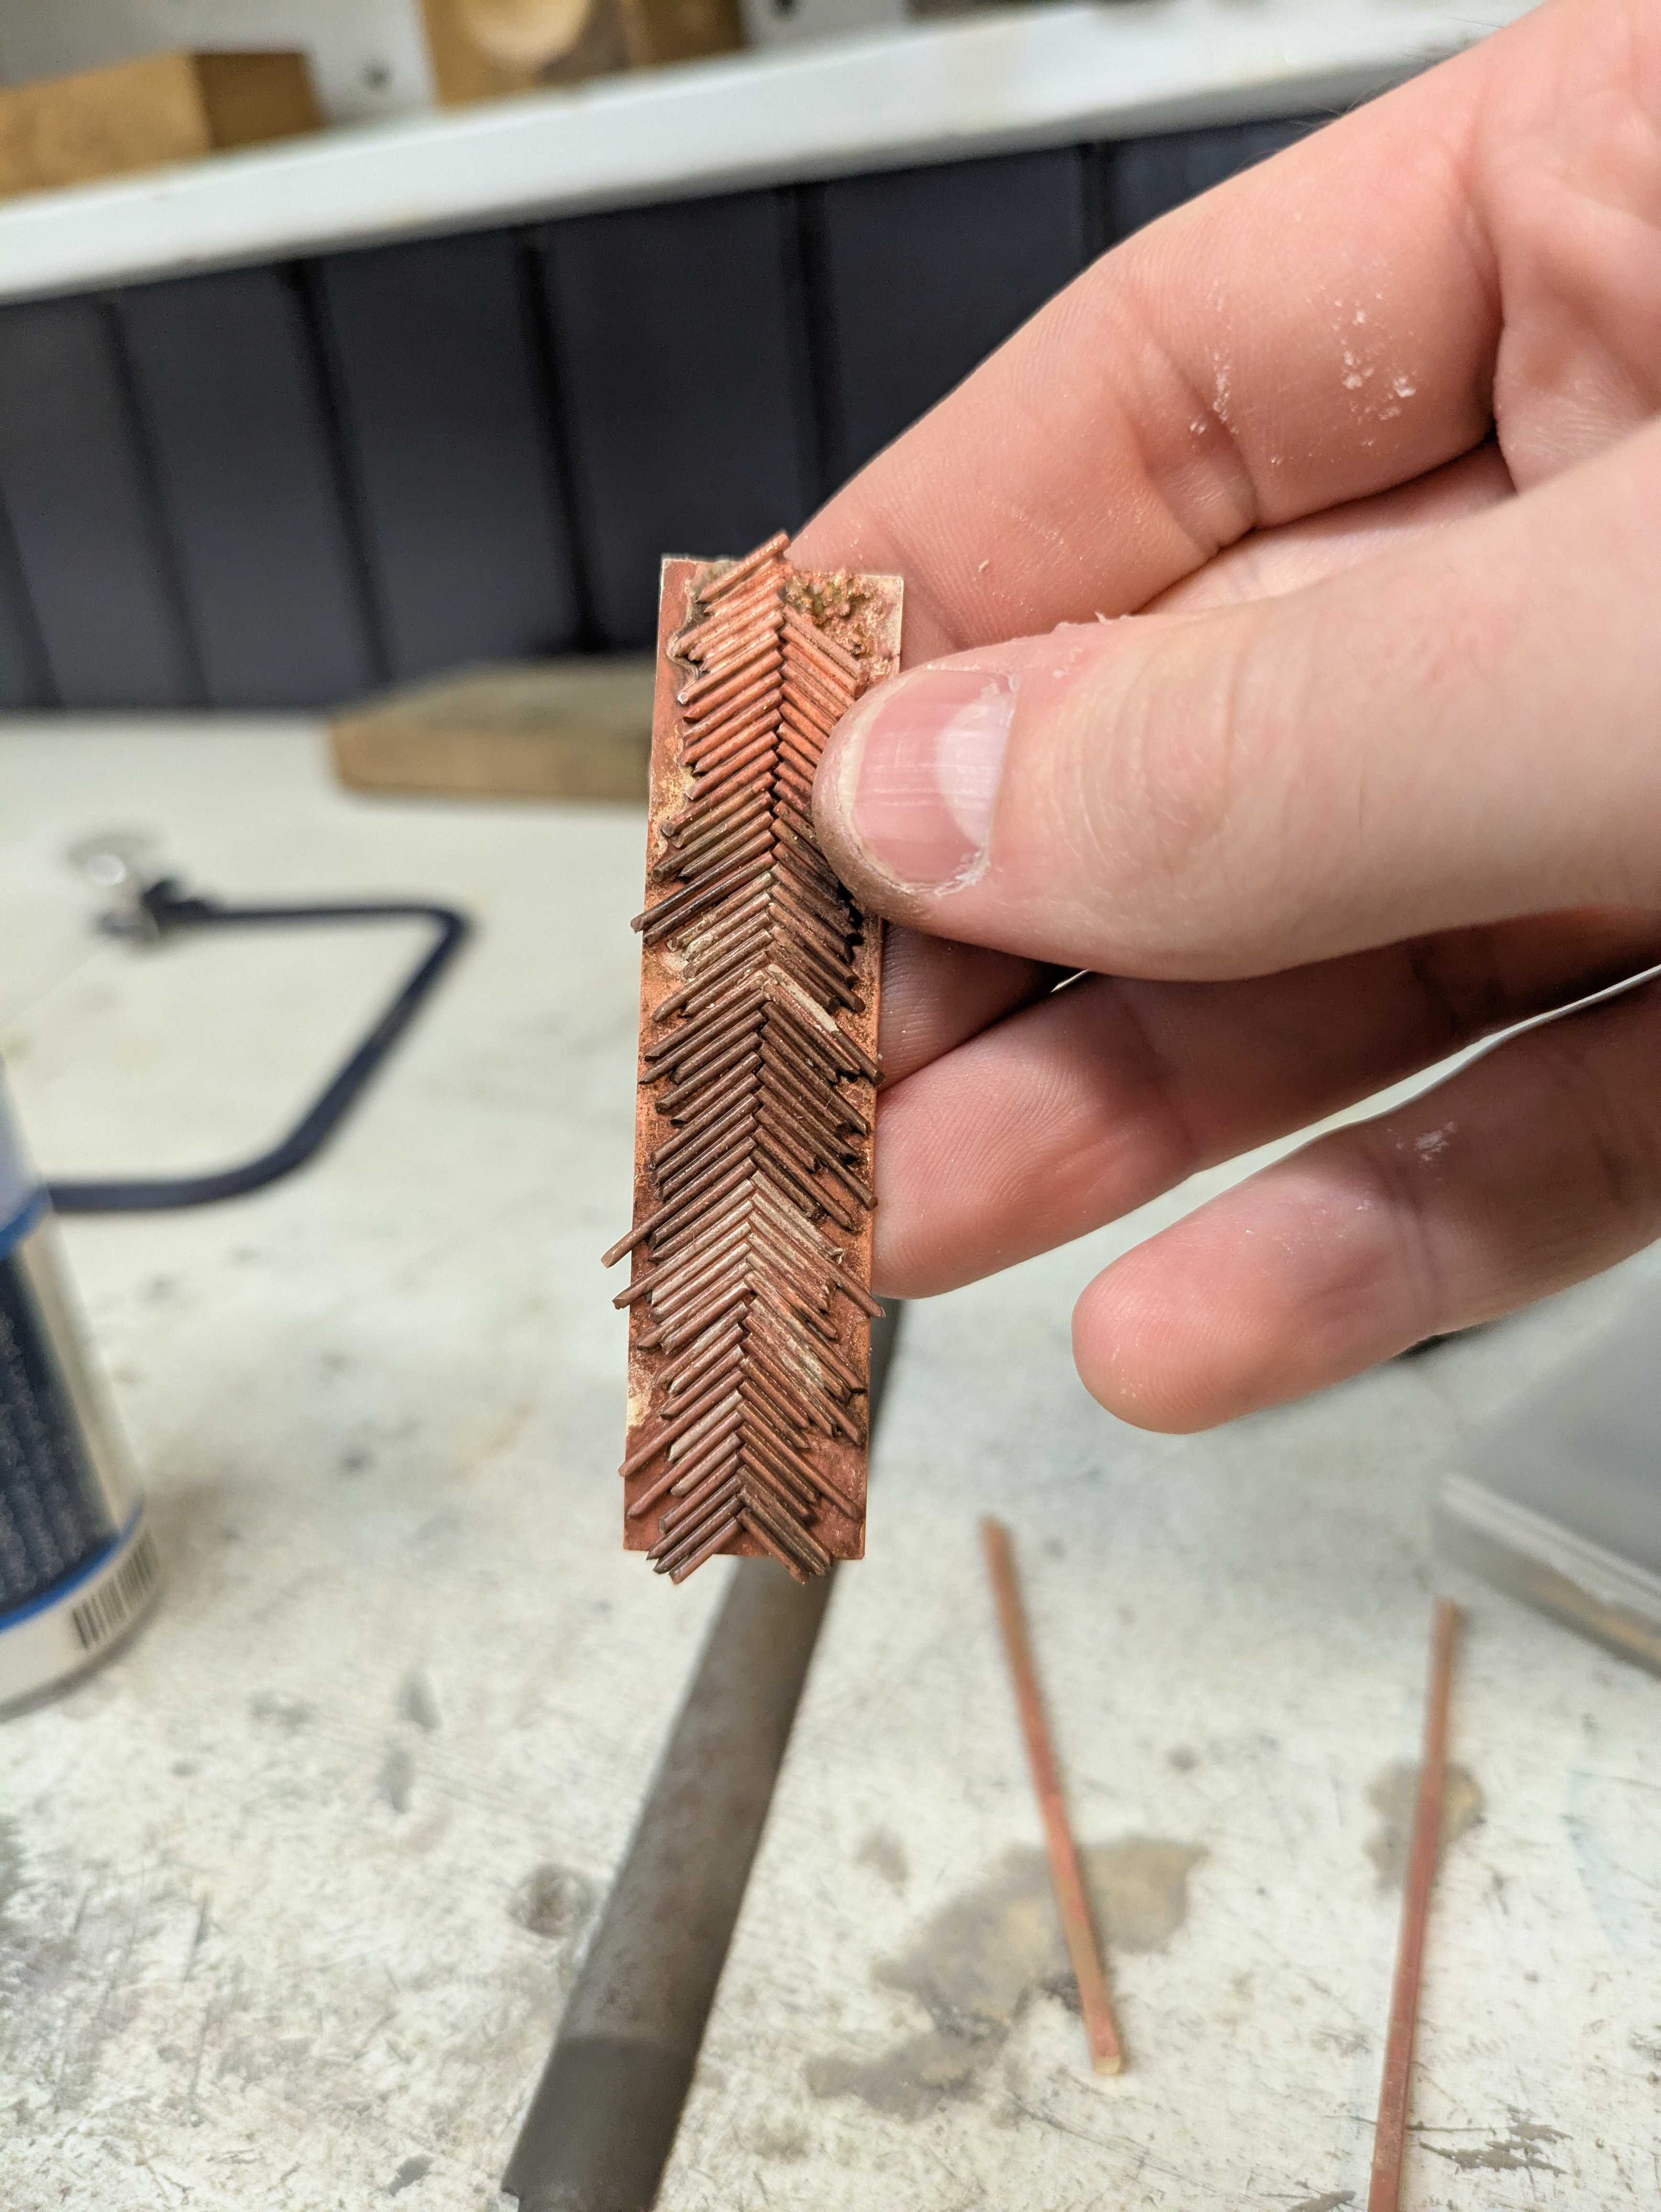
you can see in the above picture the fused piece i was talking about on the right. this was kinda annoying to grind off.
after this, i put some strips of square brass wire on top to gauge how wide i wanted the overall ring to be.
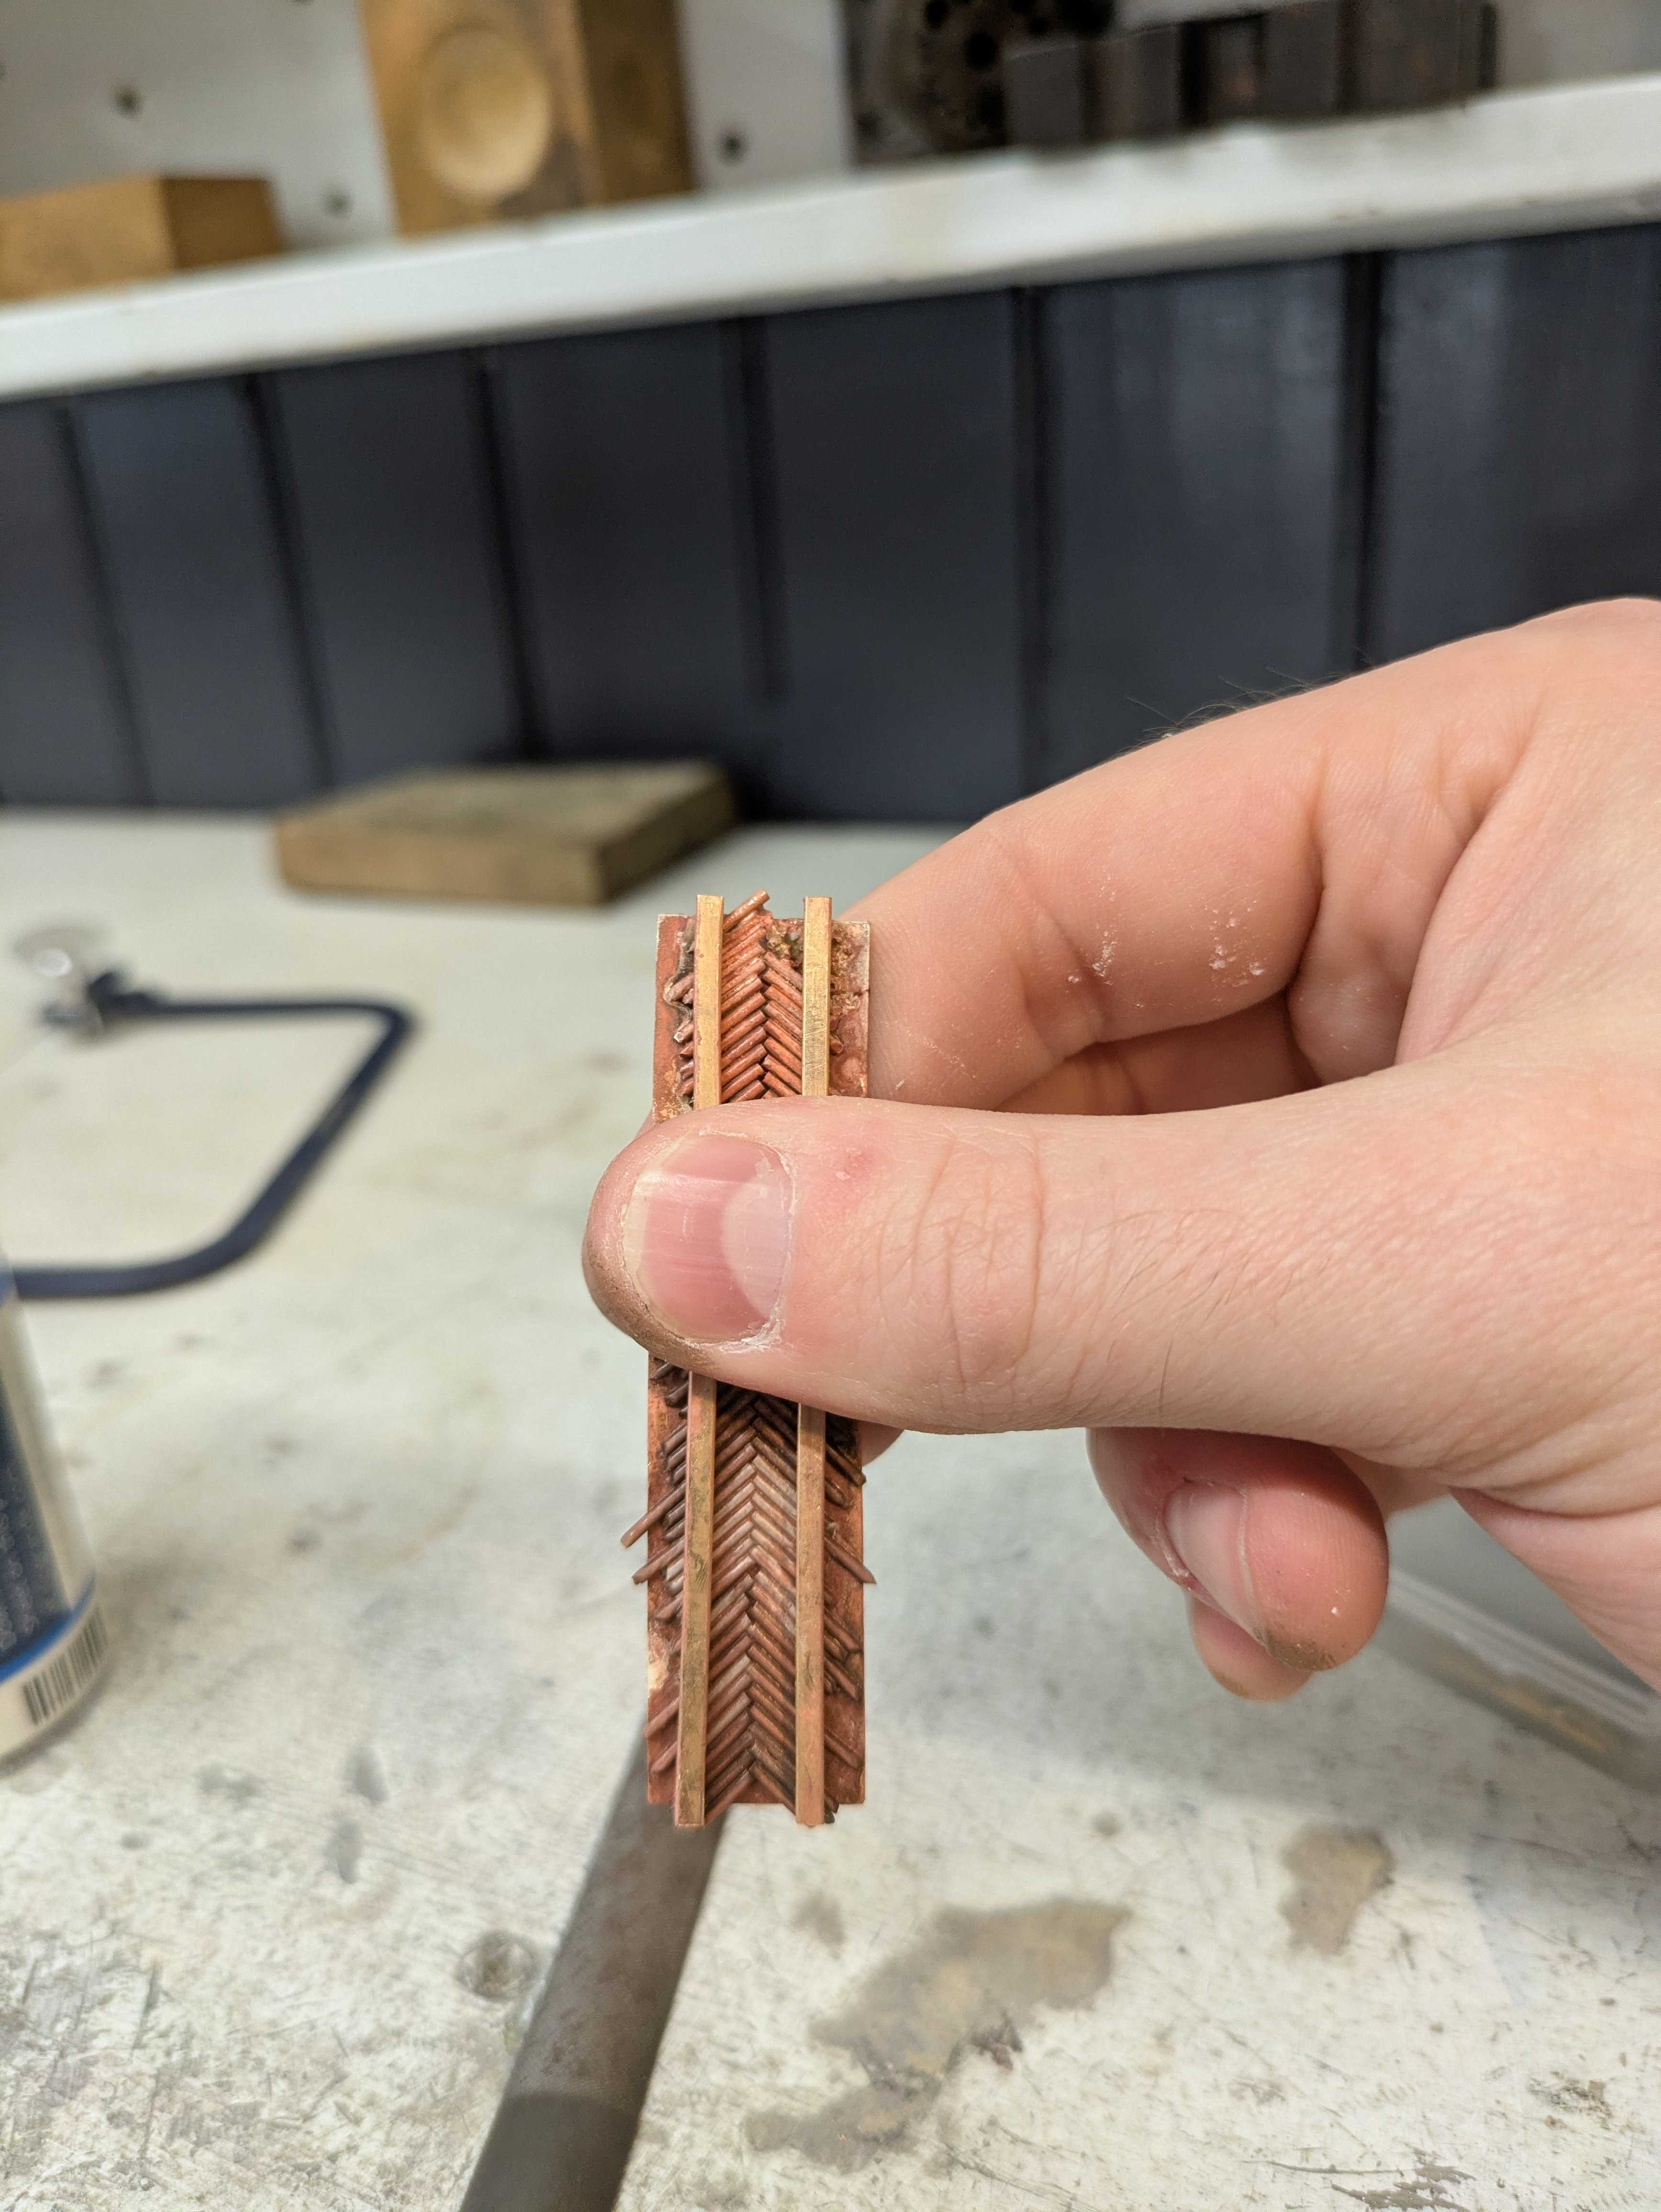
i marked this width with a sharpie in a mostly straight fashion, then cut the edges of my patterned plate with a wire saw. i did not do a great job with this, so i had to spent a while trying to file it close to square. i did measure with calipers and ended up with about 0.2-0.3 mm of variance in the width.
then, i hammered the plate around a mandrel to bend it, and soldered the end together, trying to carefully match the pattern on each end to form a continuous loop. i did not quite get that right, but i was able to file/finesse the connection point and add 2 more wire pieces to finish it up.
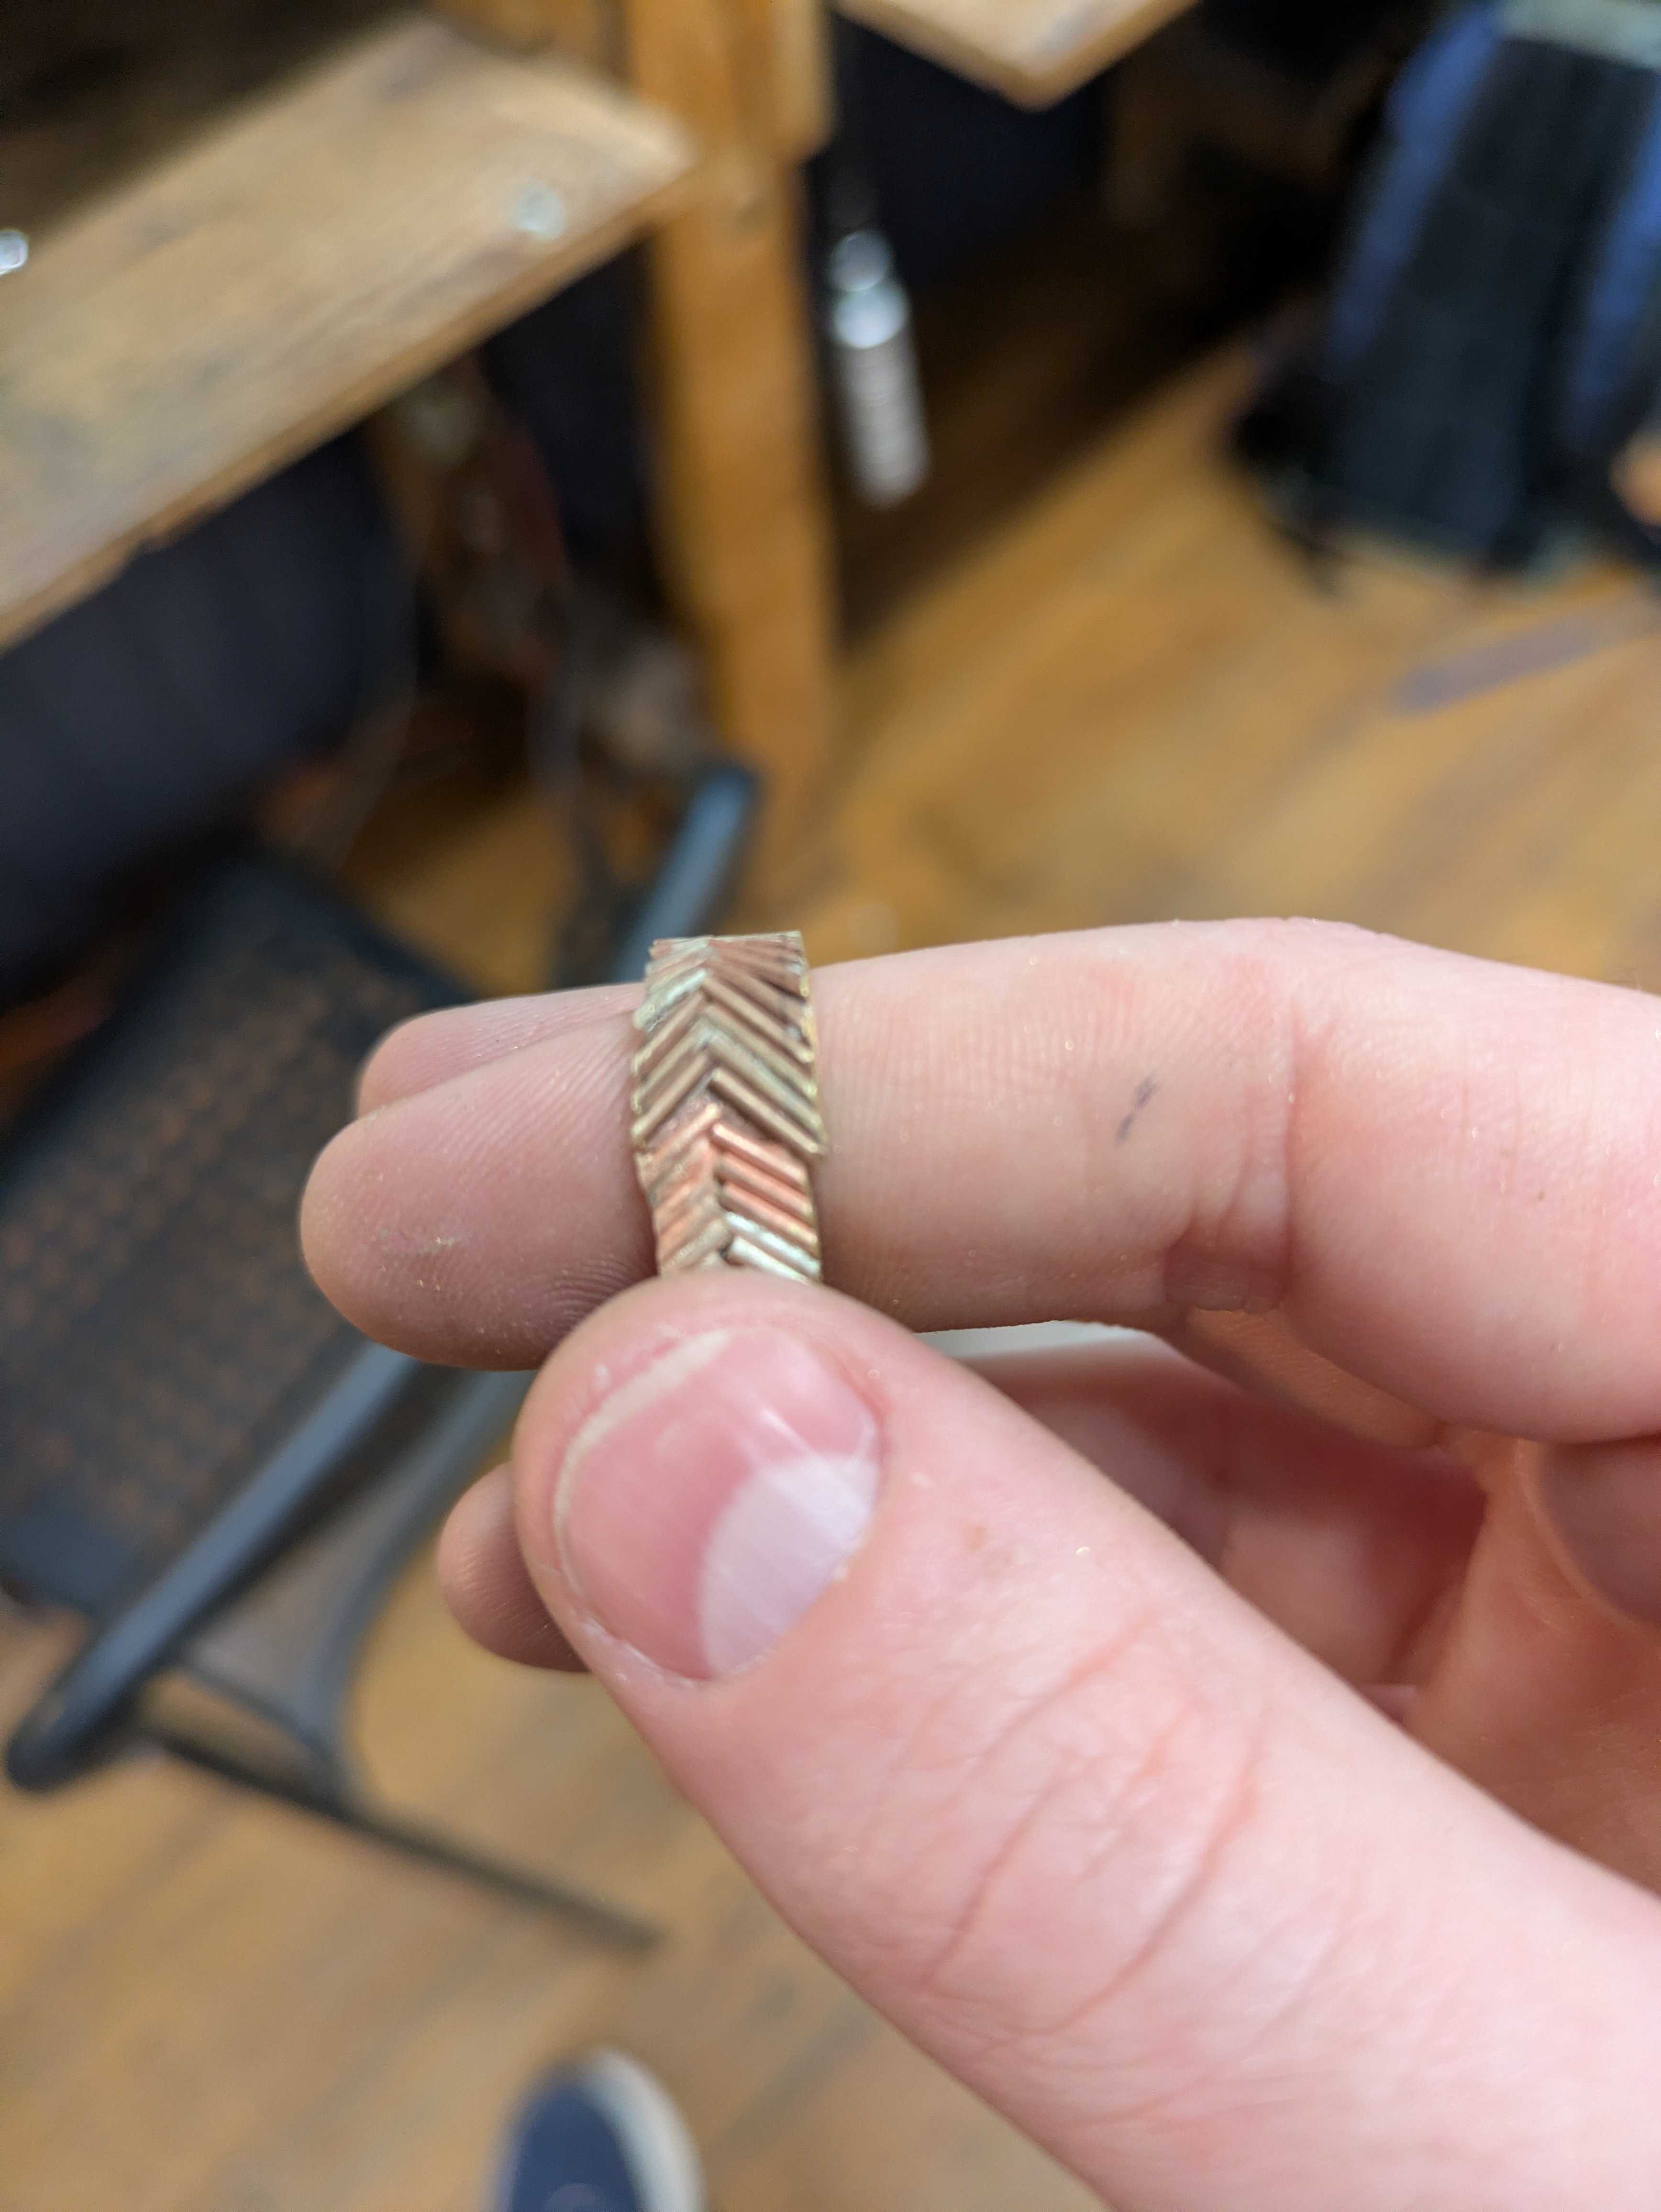
you can see above the connection point -it's where the gap in the pattern is. fortunately you can probably also see that a couple more wires fill that in nicely.
also, notice how not-square the band is. this took some effort to fix, but it didn't require me to learn anything new:
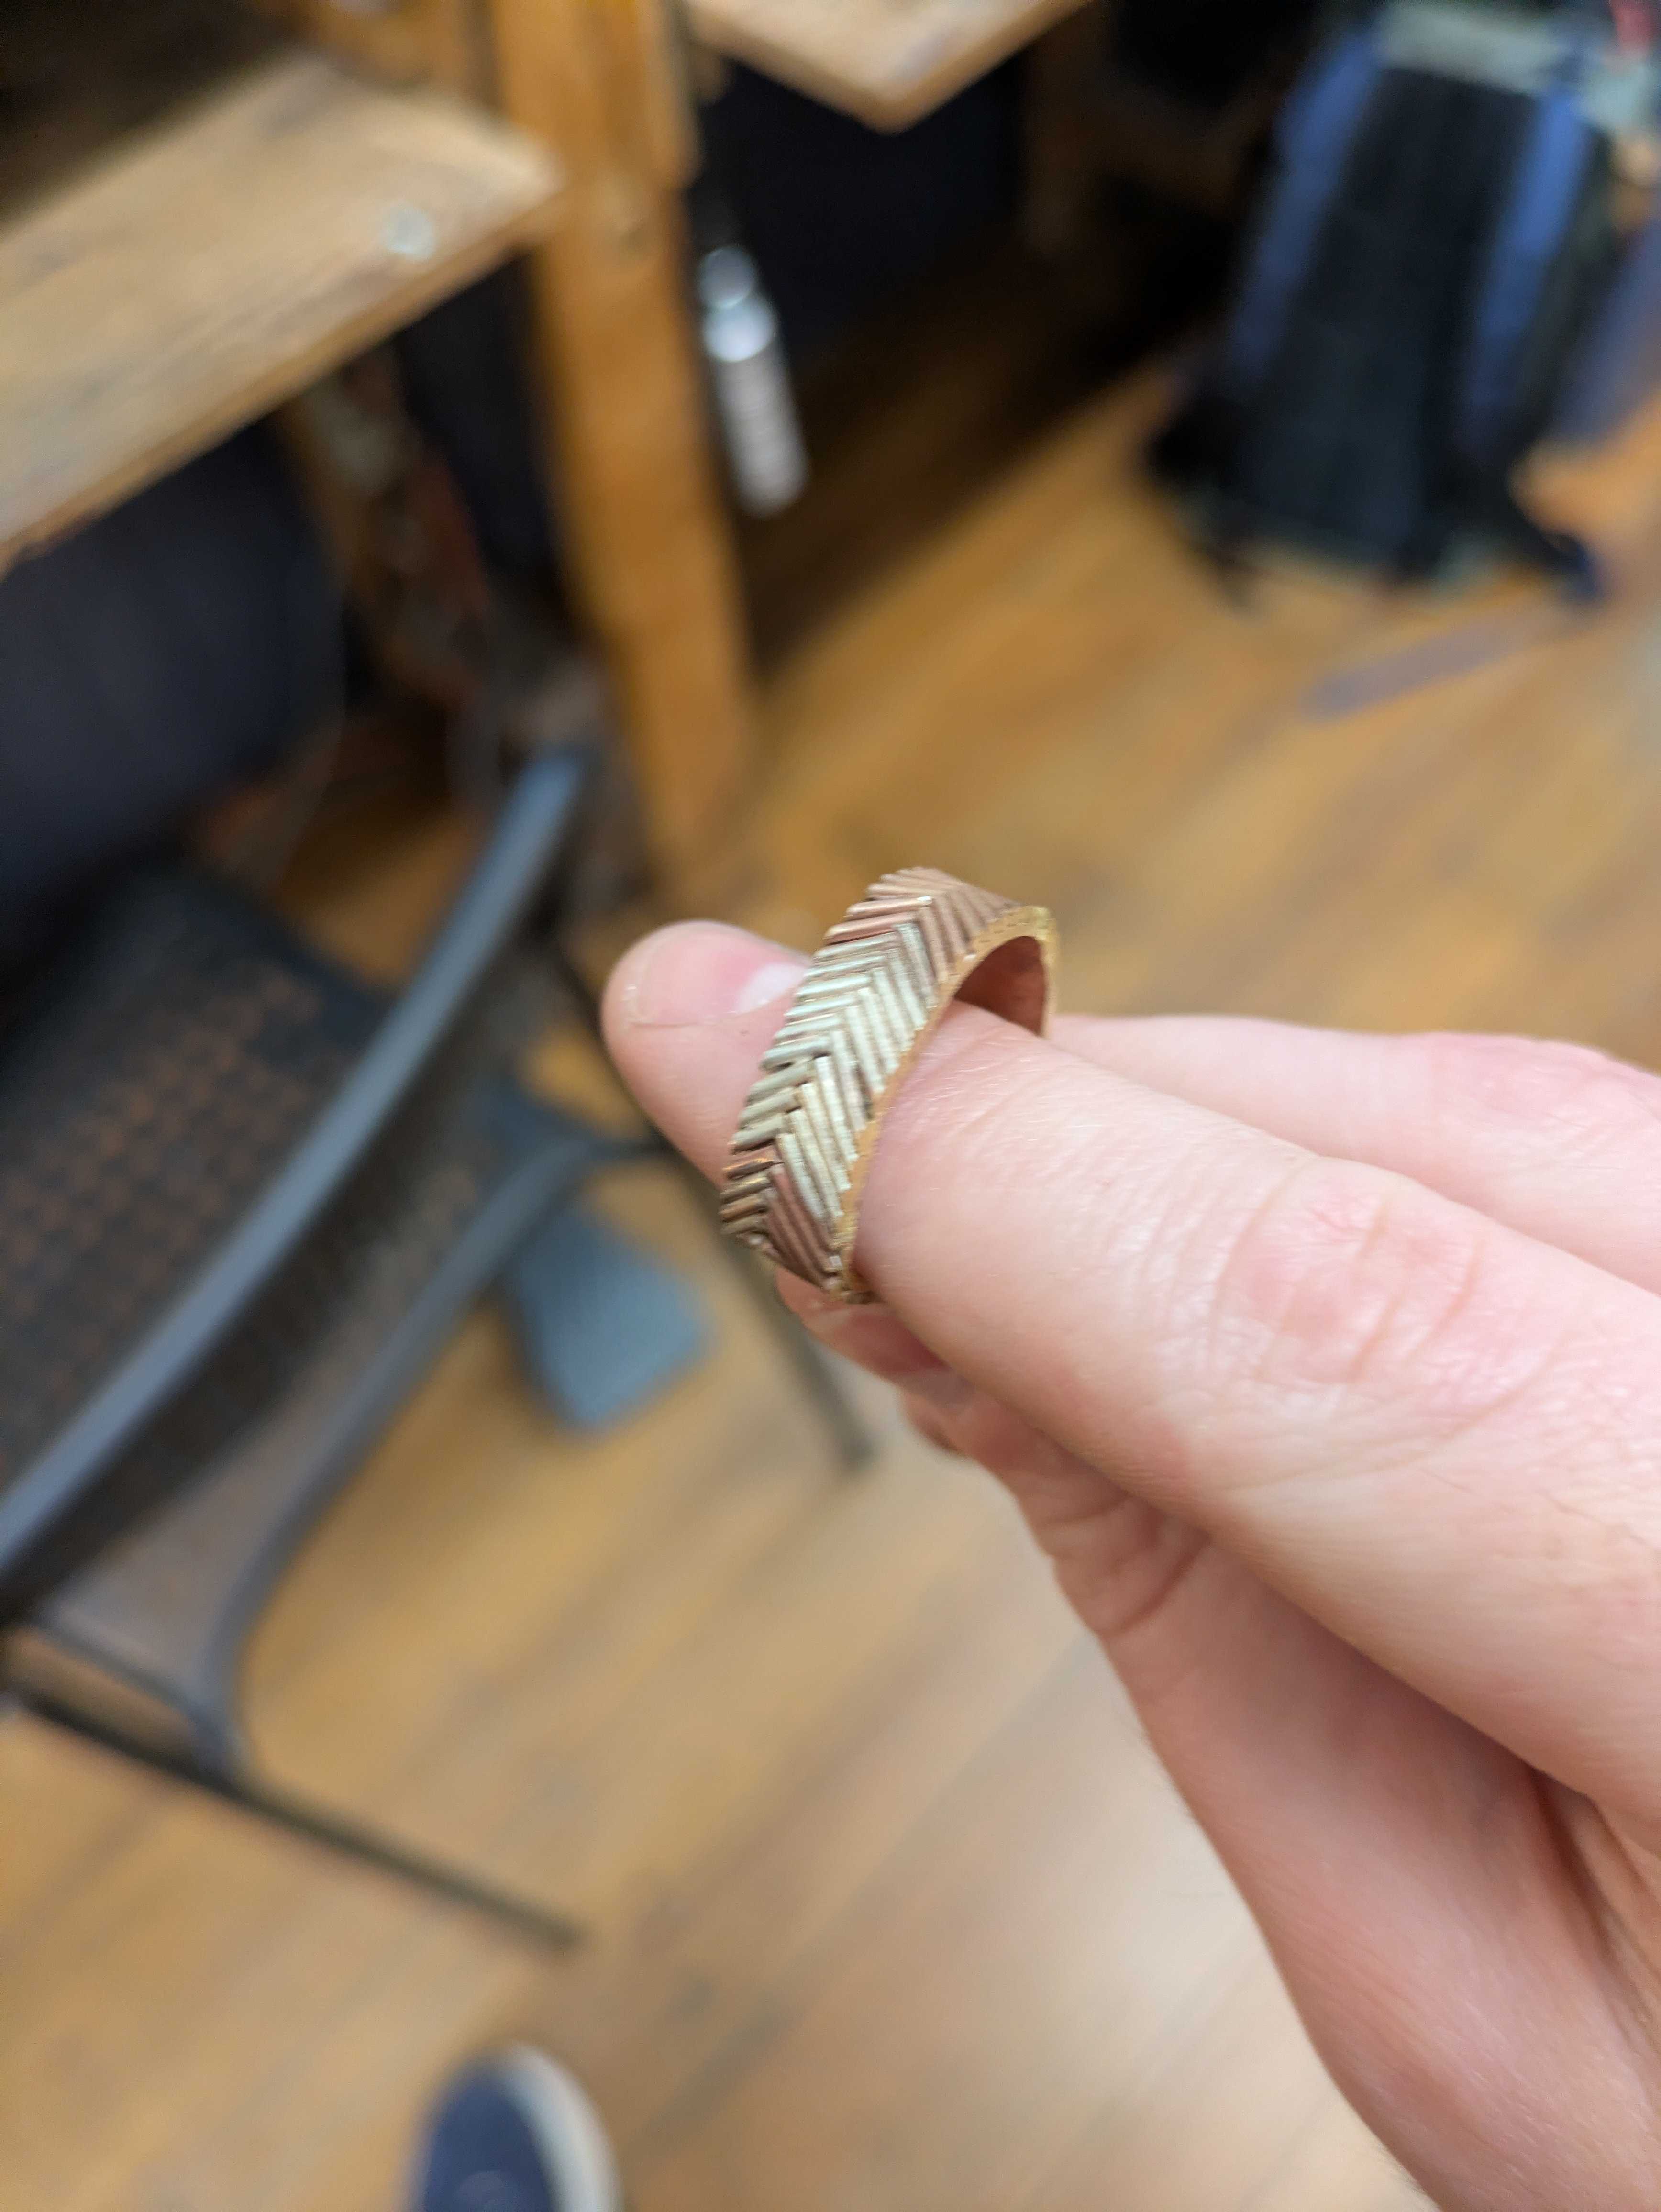
from here, the work was simpler. i bent the square wire strips into loops and soldered them, then got everything hammered to an equal diameter on the mandrel.
to finish up the soldering, i just put one of the loops on the brick, soldered the patterned piece on top, then repeated on the other side.
i got these lined up well visually, but afterwards, i noticed that the tactile experience of the ring was not as good as it could be. the edge pieces were not wholly even with the middle, so when running a finger across the ring parallel to the hole, you would feel some bumps.
to fix this i just spent some time filing things until it felt like putting on the ring or running a finger across the outer edge felt smooth. at this point i was happy with it, and did my sanding with a rotary tool.
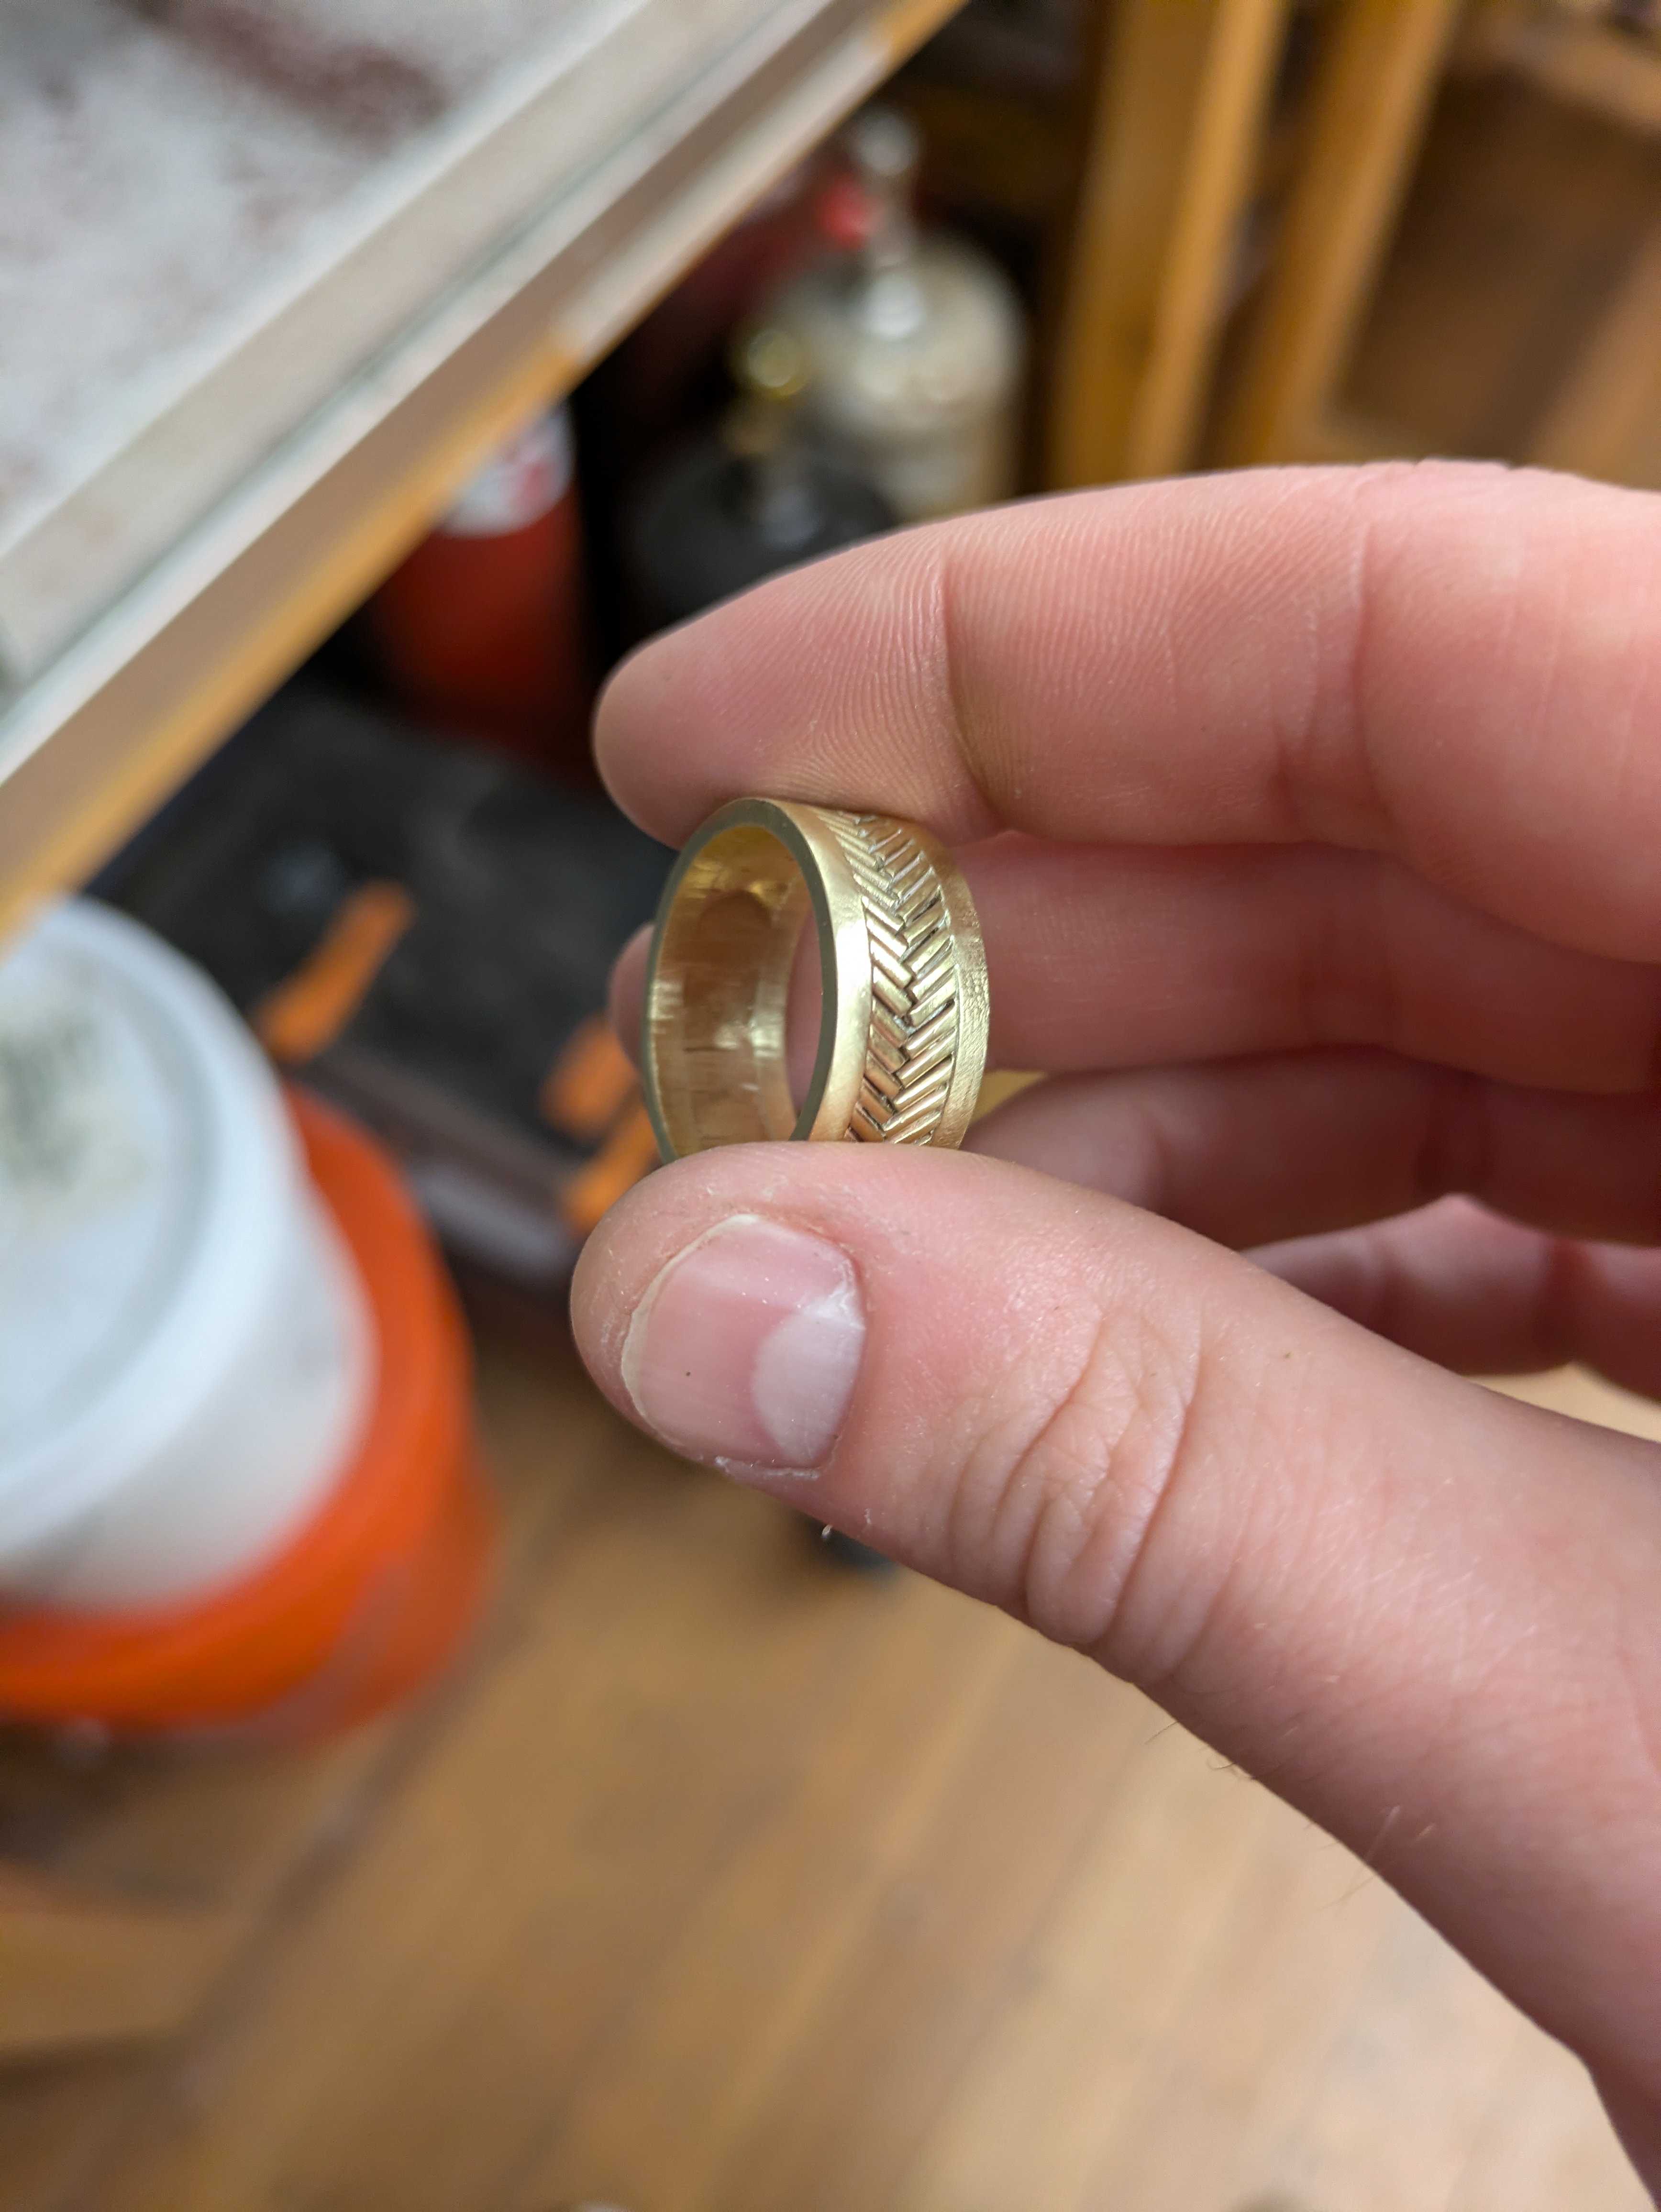
from here it was just a matter of polishing it on the wheel and cleaning it off.
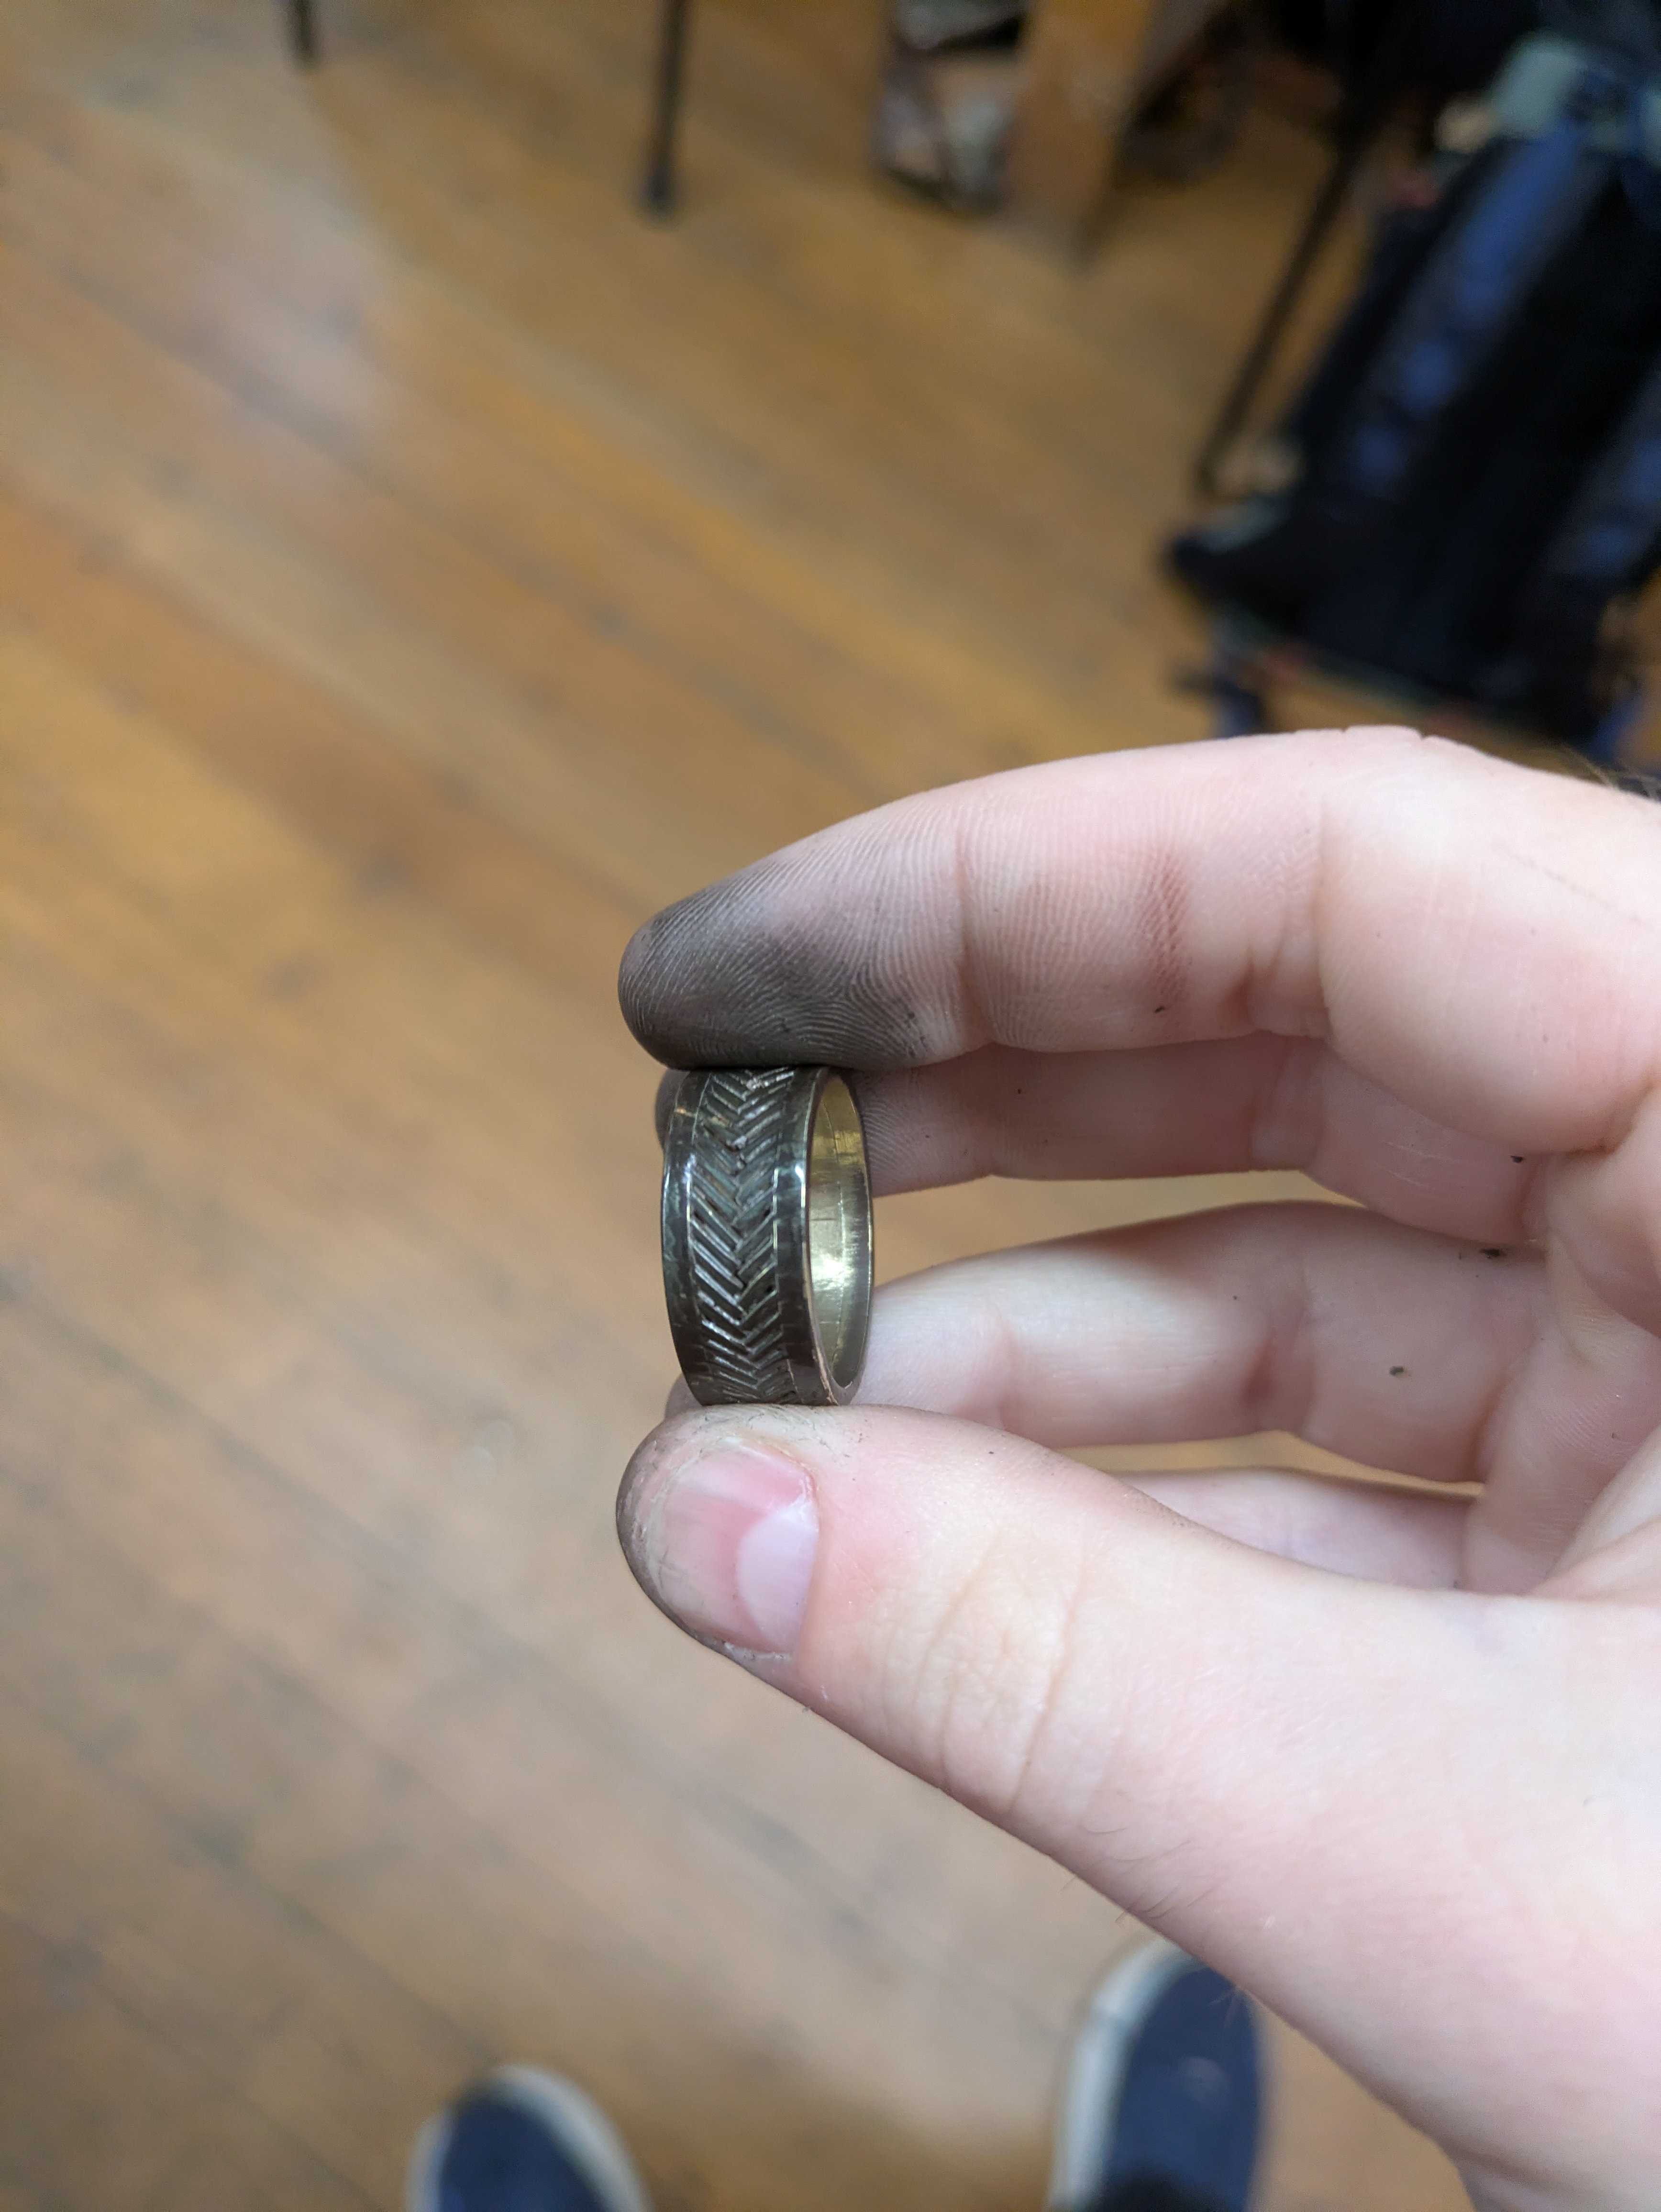
after the polishing i had a lot of this compound left on the ring. i did not have that happen on my first ring, so i was a little unsure if i had done something wrong or perhaps the wheel had too much compount on it. but it cleaned up just fine!